
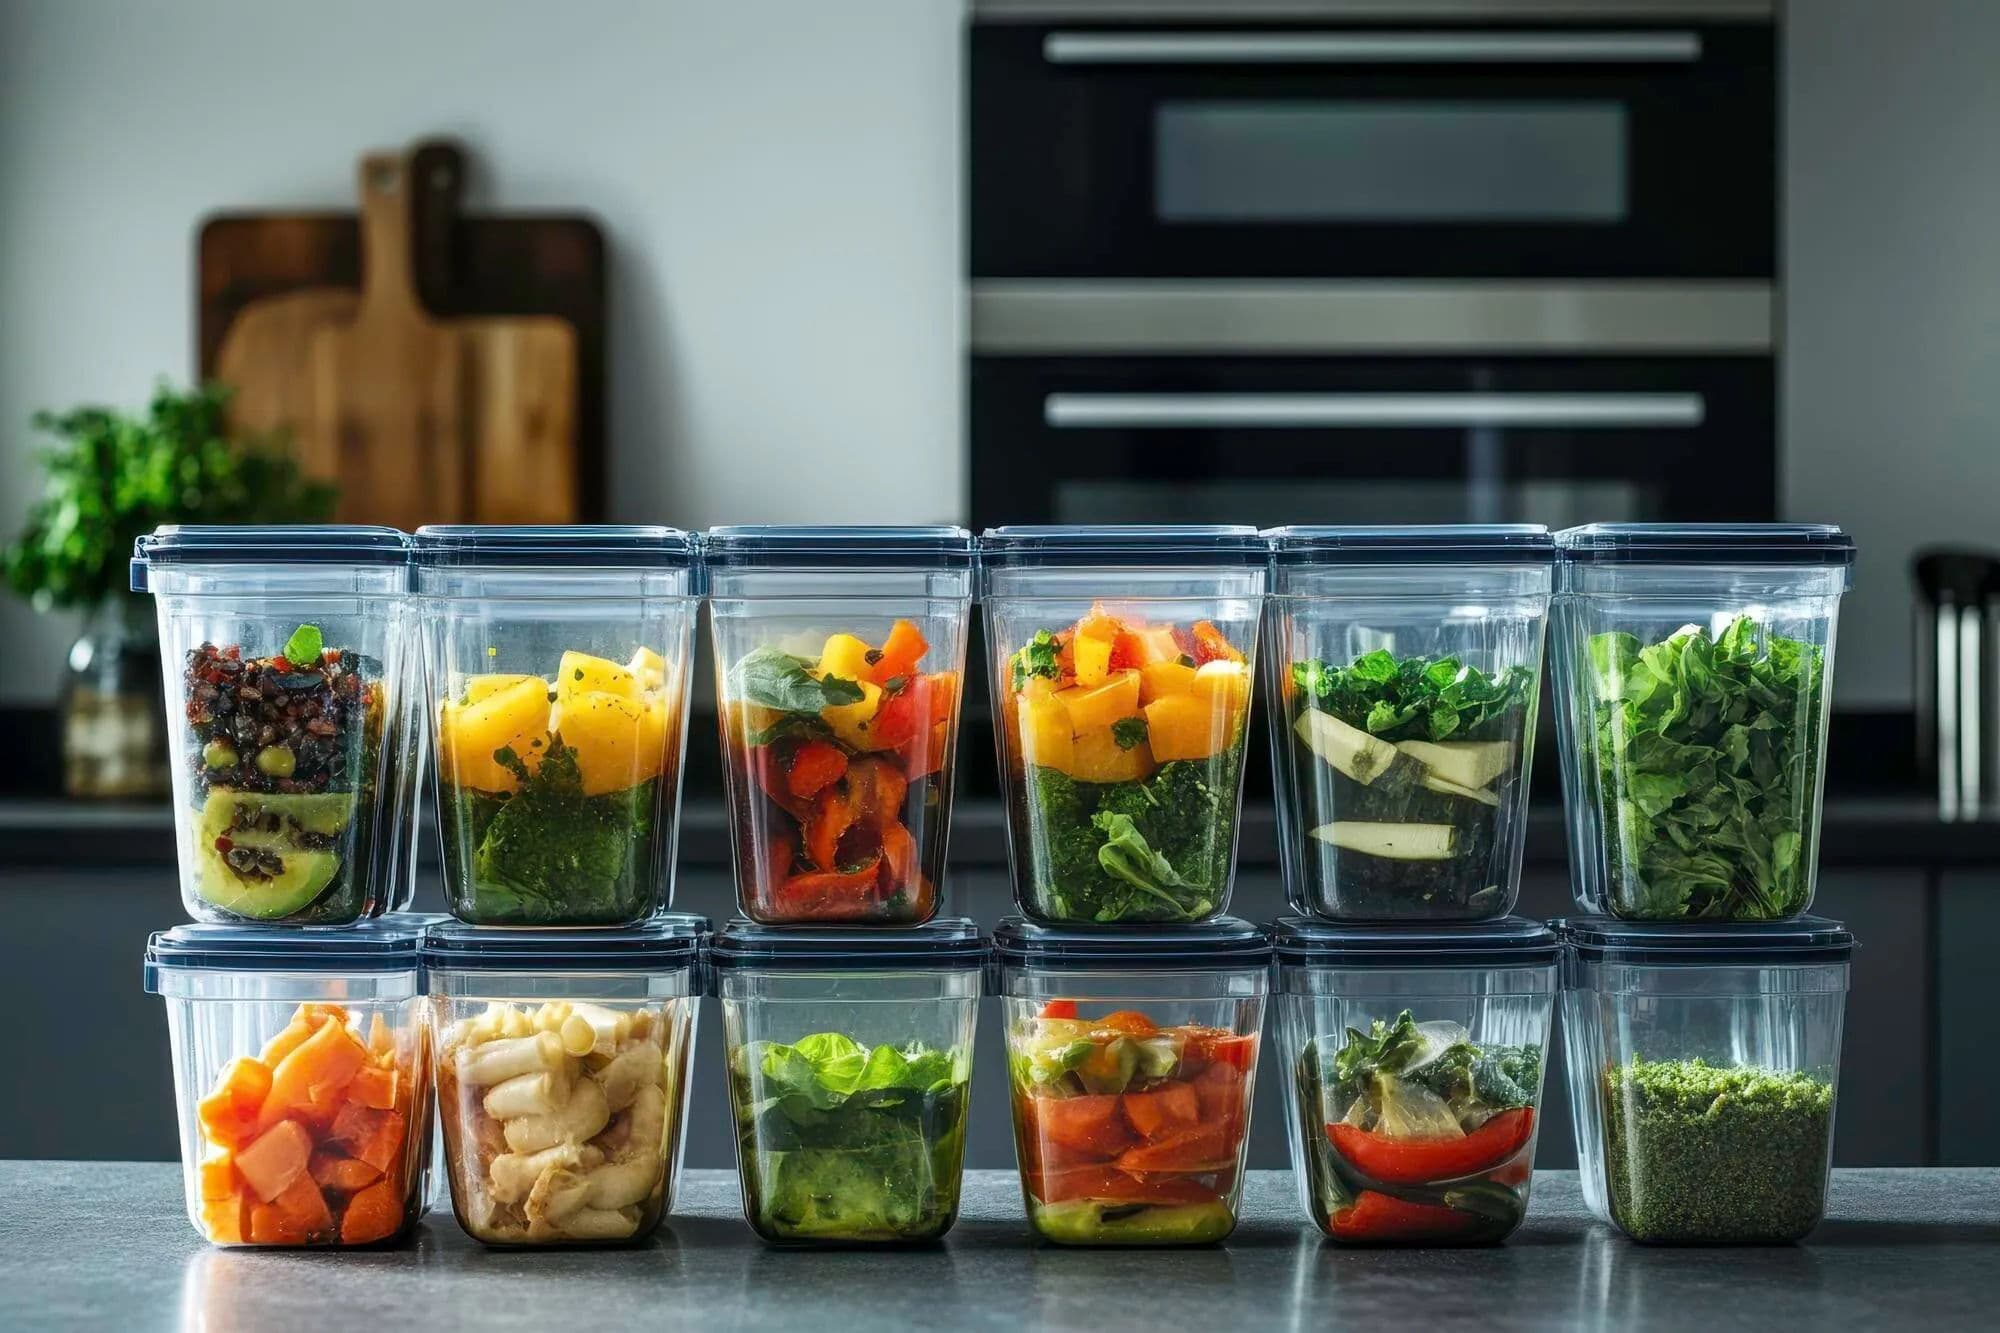
The best way to label meal prep containers is to write what the food is, when it was prepared or frozen, how much is inside and what needs to happen next. A useful label might read: `Lentil chili | cooked Aug 26 | 2 portions | fridge | add yogurt after reheating`. Put the label where you can see it without lifting the container, then move the oldest suitable meal to the front.
Do not treat a handwritten date as proof that food is safe. Cooling, temperature, ingredients and handling still matter. The label removes memory and identification problems; official storage guidance helps you decide how long a particular food belongs in the refrigerator or freezer.
Use one six-part meal prep label
1. Write a specific food name
Use the name you will recognize on a busy evening. `Chicken rice bowl` is better than `lunch`, and `tomato-lentil sauce` is better than `red sauce`. If two versions look alike, add the difference that affects the choice: `mild`, `spicy`, `with dairy` or `for pasta`.
Avoid long ingredient lists unless someone in the household genuinely needs them. The front of a small label has one job: help a person identify and use the food correctly. Keep the full recipe or ingredient record somewhere else.
2. Add the prepared, opened or frozen date
Choose a label verb and use it consistently: `cooked`, `prepped`, `opened` or `frozen`. A bare date creates ambiguity after a container moves from refrigerator to freezer. `Frozen Aug 26` is much clearer than `8/26`.
The National Center for Home Food Preservation recommends labeling freezer packages with the product, added ingredients, packaging date, amount or servings and form of the food. That is a strong base for home meal prep too. See the official NCHFP packaging and labeling guidance.
3. Record the amount or portion
Write `1 lunch`, `2 portions`, `3 cups` or `serves 4`. This prevents thawing a family-size block when you need one meal and makes freezer inventory more useful. It also tells the next cook whether a side dish or extra protein is needed.
If the container is transparent, you may still need the amount. Frozen sauce, soup and cooked grains can be difficult to judge by sight, especially when stacked.
4. Finish with the next action
Add only the instruction that prevents a mistake: `thaw overnight`, `add 2 tbsp water`, `remove lid before reheating`, `serve with rice` or `use first`. Keep manufacturer instructions for the container itself; do not invent microwave or oven directions for packaging that was not designed for that use.
For a household with allergy concerns, add a clear difference such as `contains peanuts` or the intended person’s name, but do not rely on a sticker as the only allergen control. Check the recipe, original packages and cross-contact risk before serving.
Choose a label that matches the container
For refrigerator containers
Removable food labels, dissolvable labels or a short strip of suitable tape can all work. Test one on a clean container before labeling the whole batch. The label should remain attached through condensation but come off without leaving a surface that becomes hard to clean.
Write on the label before applying it if pressing a pen against a flexible lid could puncture or deform the seal. Dry the application spot first; adhesive placed over moisture often curls.
For freezer containers
Use labels, freezer tape and markers intended to remain legible at freezer temperatures. Apply them while the package is dry and before frost forms. NCHFP specifically lists freezer tape, marking pens or crayons, and labels made for freezer use.
Place a label on the flat front or top that remains visible in your storage layout. If you freeze bags flat and file them upright later, write near the top edge so the name and date can be read like a folder tab.
For glass, plastic and reusable bags
Test removability and stain resistance on your exact material. A marker that wipes clean from glass may stain a textured plastic lid; a label that grips a rigid box may detach from a flexible bag. Do not put adhesive over a vent, seal, safety valve or manufacturer warning.
If containers belong to several people, use a small color dot in addition to a written name. Color should be a shortcut, not the only information, because lighting, color vision and mixed lids can make it unreliable.
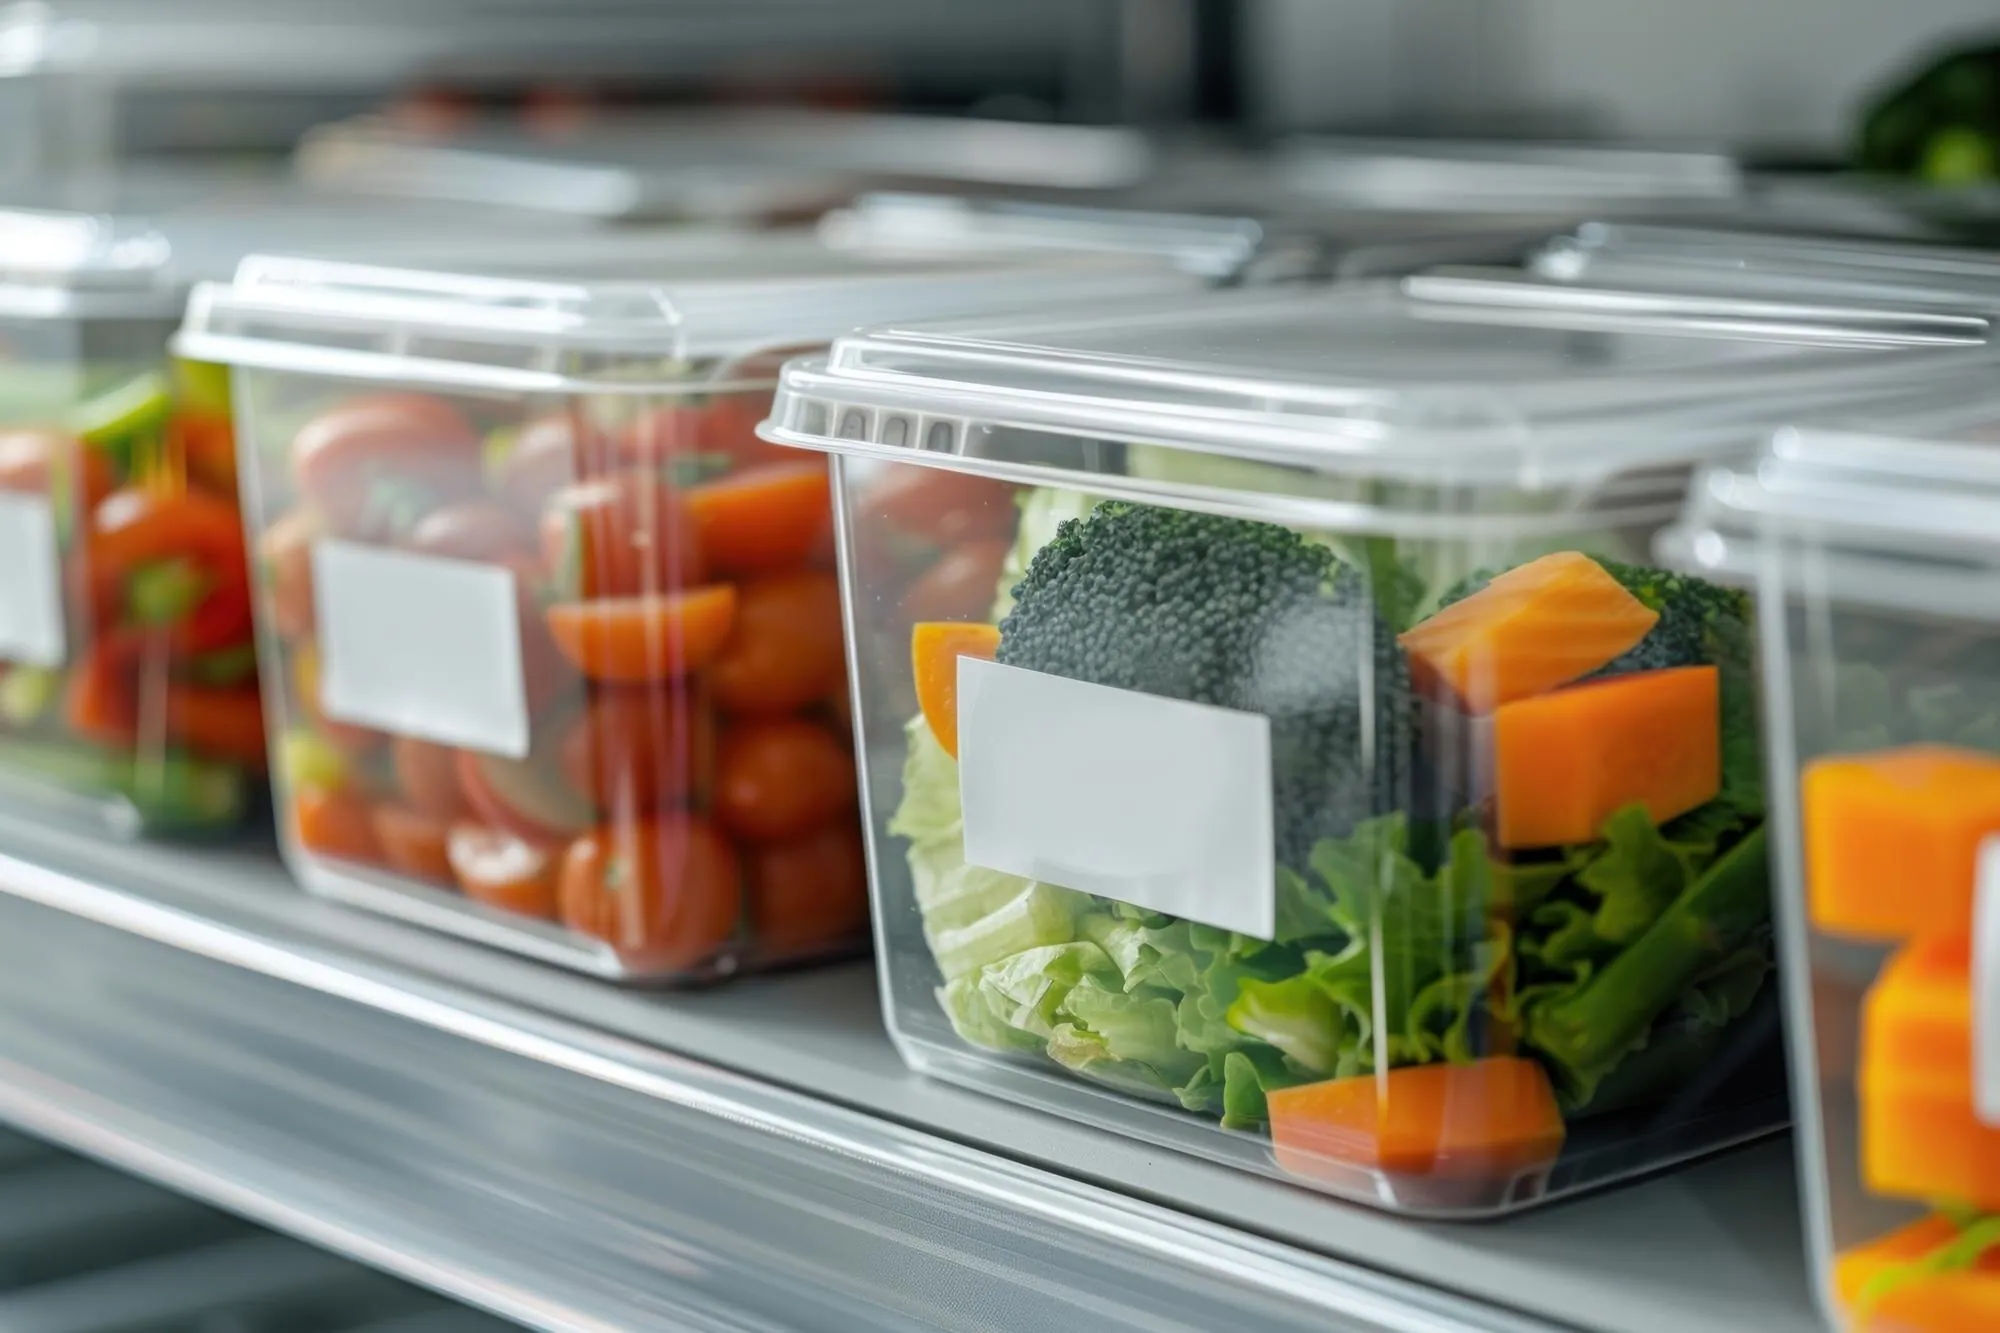
Make labeling part of the prep session
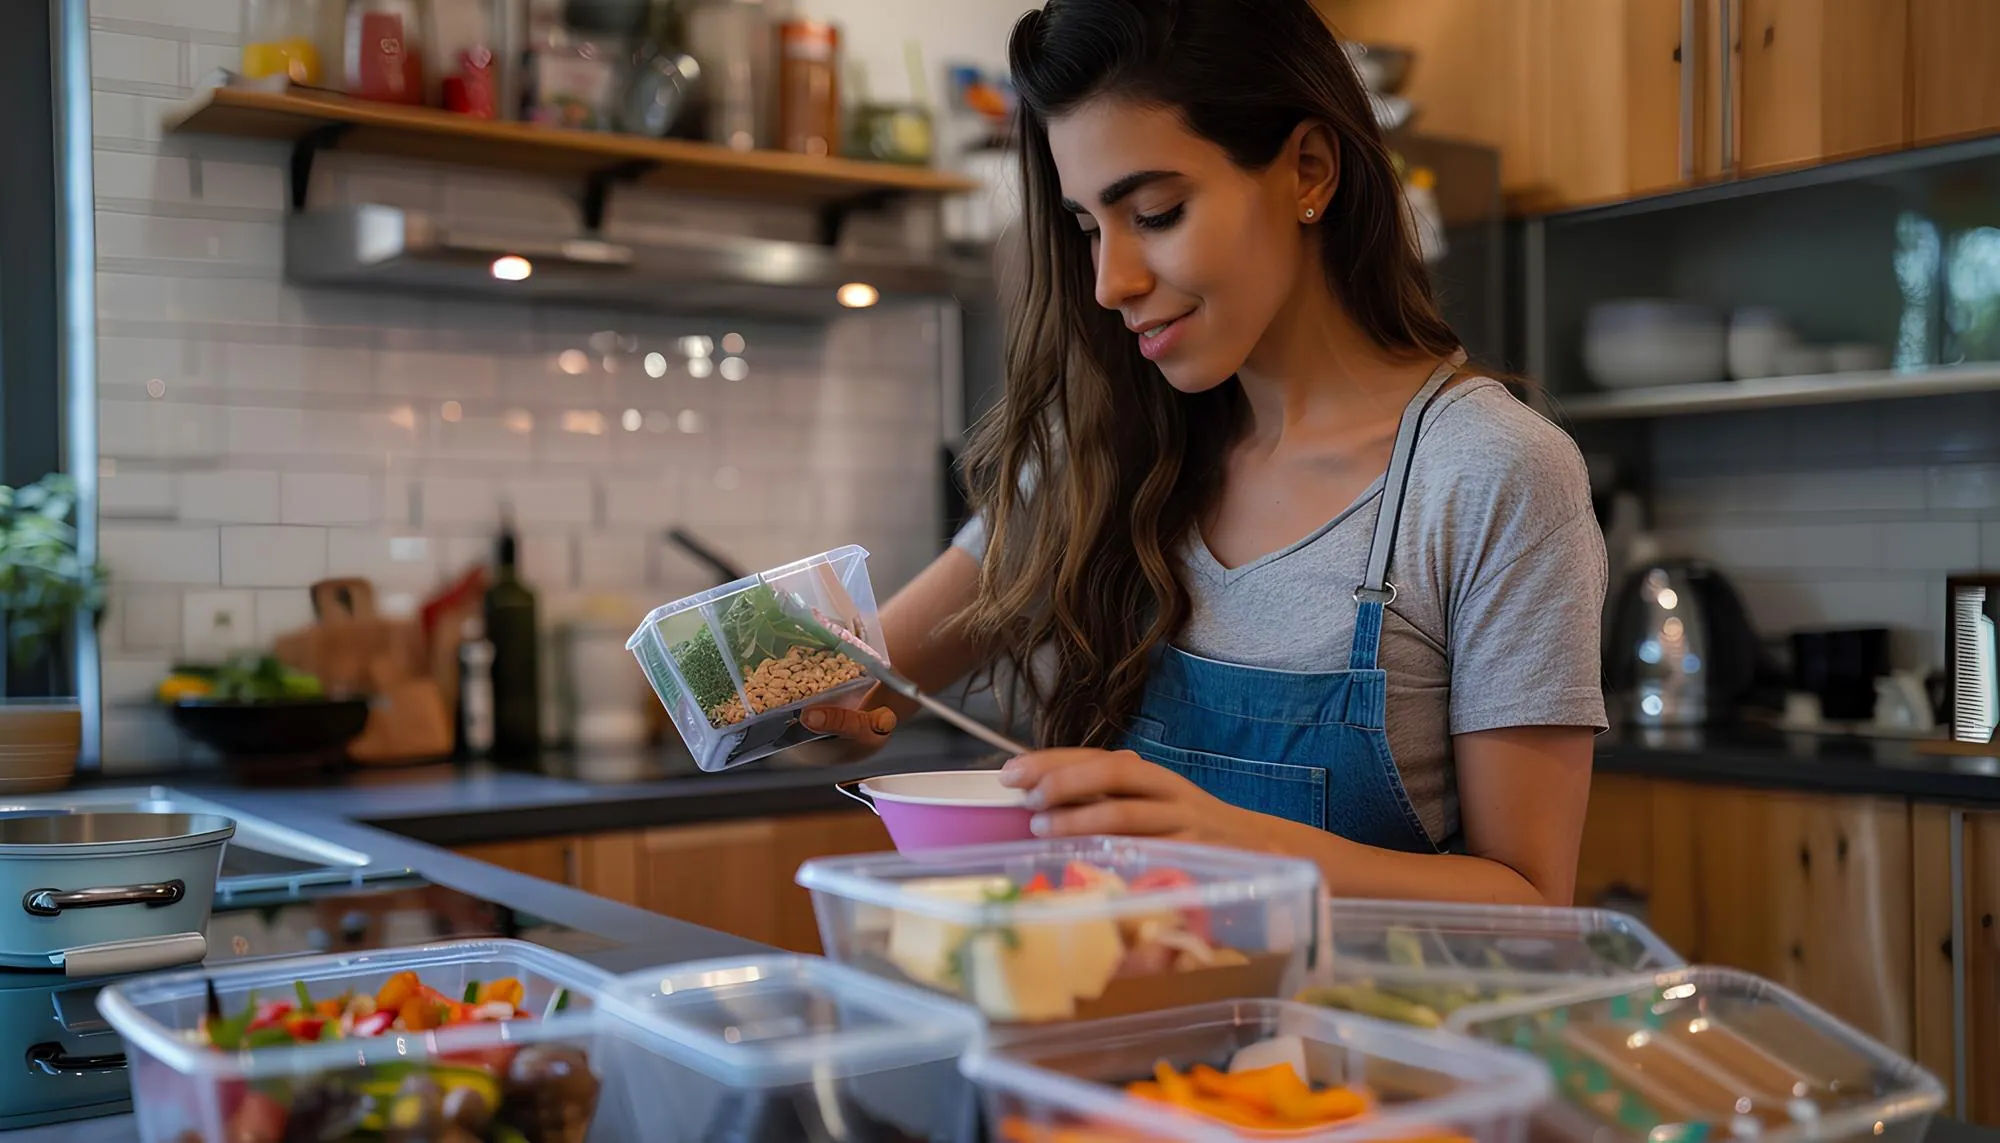
Set up a 60-second labeling station
Keep the chosen labels and one working marker beside the containers, not in another room. Before cooking, write the dish names and leave the date blank. After the food is portioned and cooling correctly, add the date, amount and next action.
This is easier than trying to remember six containers after the kitchen has been cleaned. It also reveals when two meals need different labels even though they came from one cooking session.
Label before containers are stacked
Seal, label and then place each container in its storage zone. A stack of identical clear boxes becomes surprisingly anonymous once lids fog, sauces settle and the top box hides every label below it.
Food still needs safe cooling. FDA advises refrigerating or freezing perishables and leftovers within two hours and using shallow containers to cool large amounts faster. Read the current FDA cold-storage guidance; a neat label does not compensate for food left out too long.
Use one repeatable writing pattern
Write every label in the same order:
Dish.
Action date: cooked, opened, prepped or frozen.
Amount.
Storage zone.
Next action.
The repeated pattern is faster to scan than decorative labels with information in different places. Legibility matters more than a label printer, color palette or perfect handwriting.
Use labels to rotate the refrigerator and freezer
Put the oldest suitable meal in the easiest position
After adding a batch, move older food of the same type forward or upward. New meals go behind or below them. This simple first-in, first-out habit works only when the dates are visible, so do not create a stack that requires lifting every box.
Choose one `use first` area in the refrigerator. It can hold tonight’s portion, an opened component or a leftover that should be checked before newer food. The area is a prompt, not a promise of safety.
Know what the date can and cannot tell you
The FoodSafety.gov chart lists many cooked leftovers at three to four refrigerator days and explains that freezer times are primarily about quality when food stays continuously frozen at 0°F/-18°C or below. Different foods have different limits, so check the current Cold Food Storage Chart or FoodKeeper instead of applying one date to everything.
USDA also explains that many commercial `Best if Used By`, `Sell-By` and `Freeze-By` dates describe quality rather than safety. Do not copy a manufacturer date onto home-cooked food without understanding what it means. The official USDA product-dating guide separates those terms.
Keep the inventory small enough to scan
A freezer spreadsheet is optional. Start with a short door list or phone note containing the dish, portions and frozen date. Cross out a container when it leaves. If the list regularly disagrees with the freezer, reduce the system to one shelf and a weekly visual check.
Labels solve the object-level problem; the inventory solves the collection-level problem. You need both only when the freezer is large enough that food disappears behind other food.
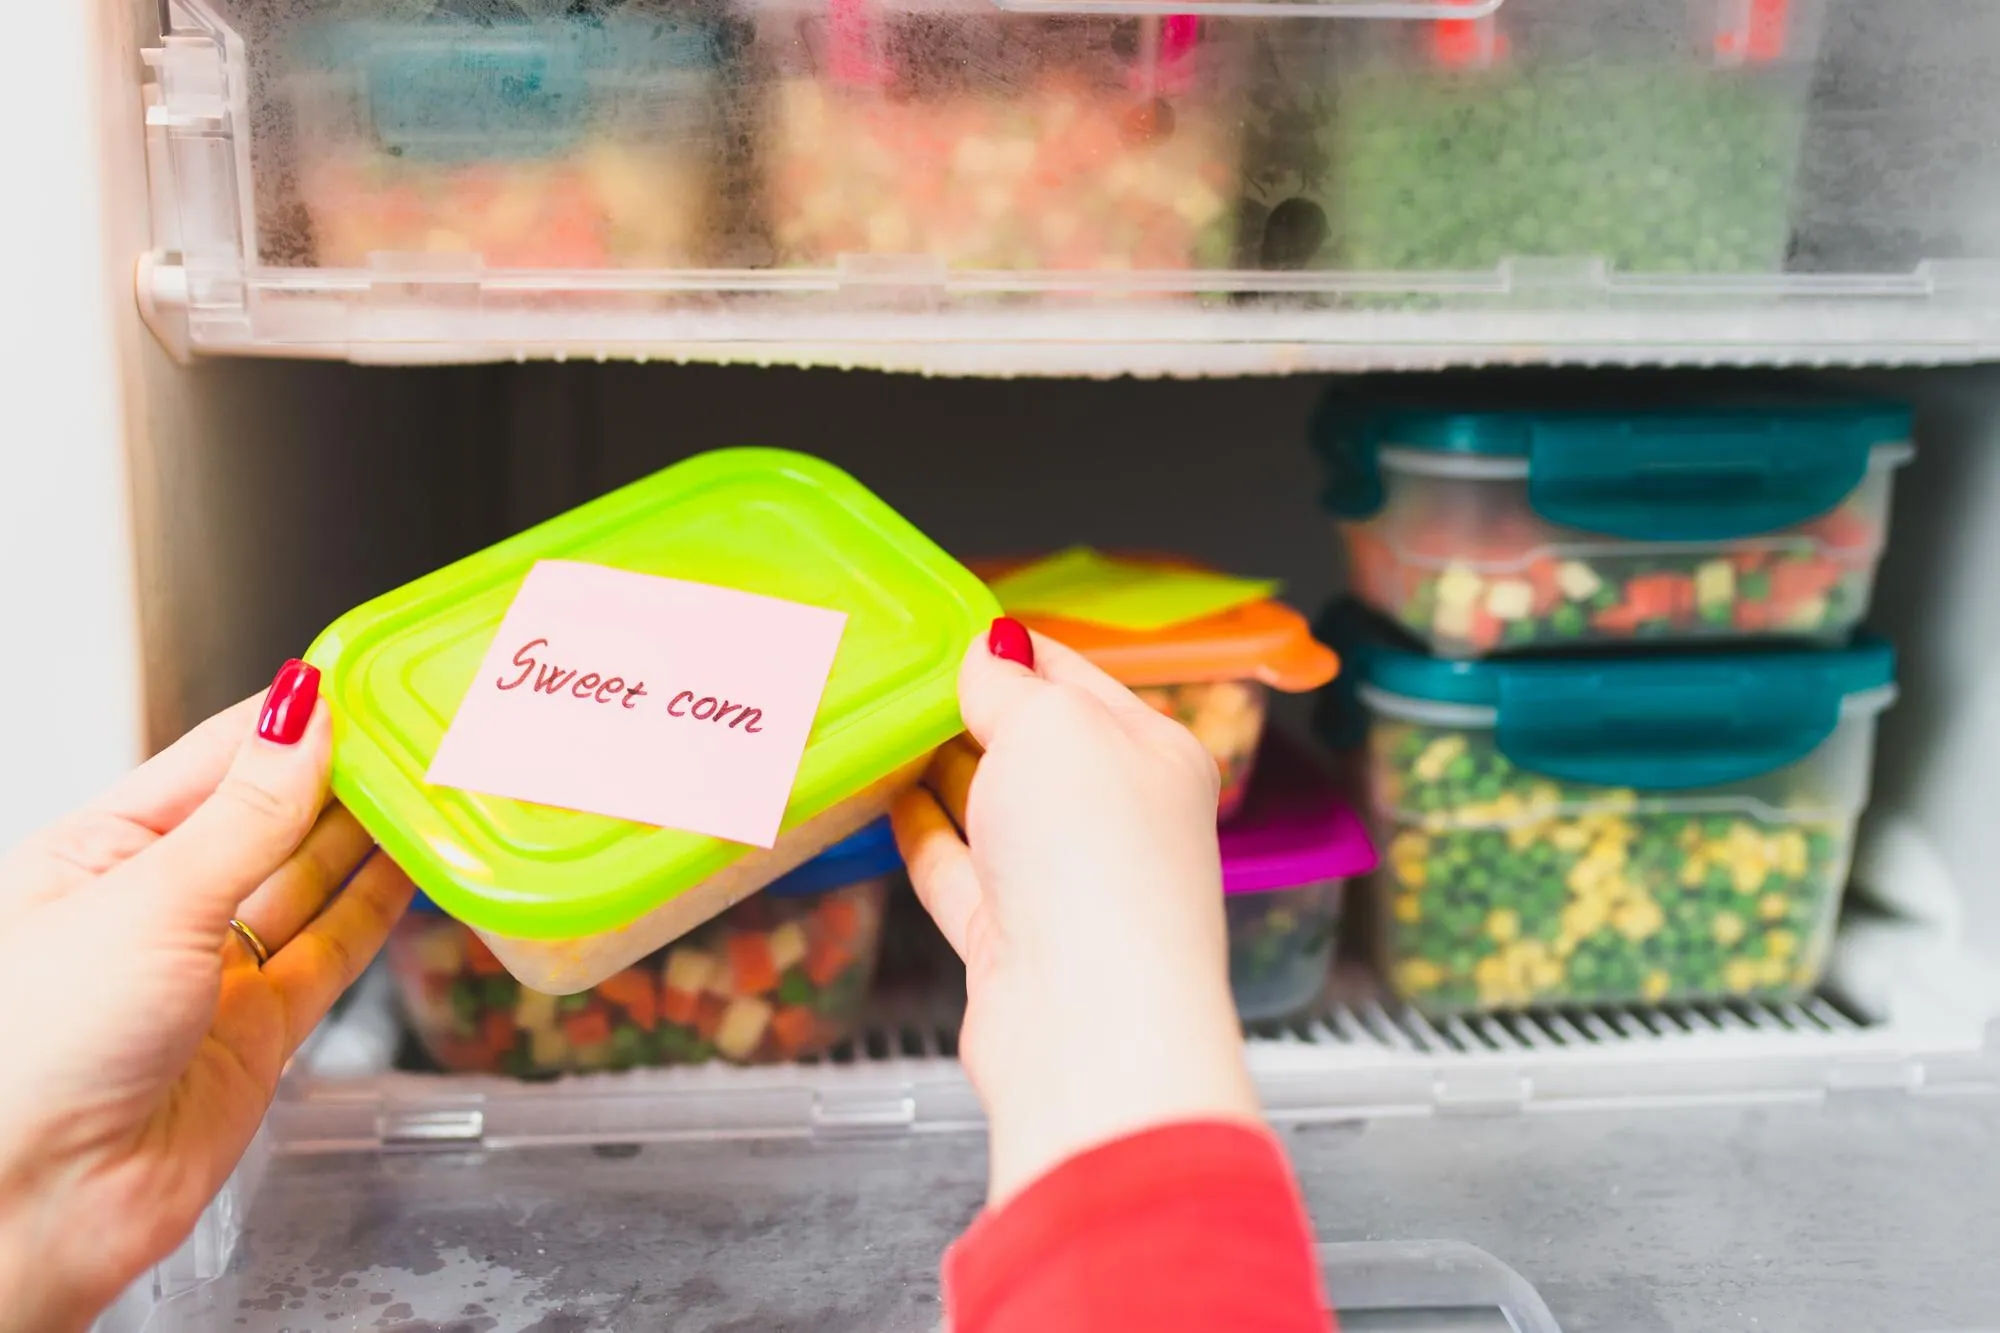
Copy these three practical label examples
A refrigerator lunch
`Chicken rice bowl | cooked Aug 26 | 1 lunch | fridge | add sauce after reheating`
This identifies the meal, its starting date and the ingredient that should stay separate. Use the official storage guidance for the actual recipe and refrigerator temperature before adding any use-first date.
A family freezer meal
`Lentil chili | frozen Aug 26 | 4 portions | freezer | thaw overnight in fridge`
The amount makes it clear that this is not a single lunch. The thawing note prevents a last-minute attempt to leave it on the counter; FDA guidance lists the refrigerator, cold water and microwave as safe thawing methods, with important follow-up rules for the latter two.
A flexible component
`Roasted tomato sauce | cooked Aug 26 | 3 cups | fridge | freeze 2 cups tomorrow`
This label connects today’s component with tomorrow’s action. When part of it moves to the freezer, give the new package its own `frozen` date rather than leaving the original instruction unchanged.
Fix the common labeling mistakes
Do not write only “meal 1”
Numbers work only while you remember the plan. Name the food first and use a number as secondary information: `Bean burrito | lunch 1`. Another person should be able to understand the label without opening your calendar.
Do not write only a weekday
`Tuesday` becomes ambiguous after one week. Use a full month and day; include the year for longer freezer storage. A consistent unambiguous format such as `2026-08-26` is useful in multilingual households.
Do not hide the label under the container
Bottom labels are hard to scan and may rub against wet shelves. Choose the front when containers are stacked, the top when they sit in one layer, or both for a large freezer package.
Plan prep and labels with Dishday
Use Dishday to keep the meal behind the label connected to the week. Save the recipe, place the portions in the meal planner, and add only missing ingredients to the grocery list. The separate meal prep for a busy week guide can help you choose a realistic number of components.
Dishday does not know the temperature of a container, whether it cooled safely or whether a handwritten date is still valid after power loss. Keep those checks physical and follow official guidance. If you are deciding what should move from refrigerator to freezer, use the foods you can freeze guide.
Frequently asked questions
What information should go on a meal prep label?
Write the dish, prepared or frozen date, amount or portions, storage location and one useful next action. Add an allergen or owner note when genuinely needed, but keep the full recipe elsewhere.
What is the best way to label plastic food containers?
Use a removable label or suitable tape and a marker that stays legible in the intended temperature. Test for staining and residue on one lid, dry the surface before application, and keep adhesive away from seals and vents.
Should I write a use-by date on homemade meal prep?
You may write a use-first date based on authoritative storage guidance for that exact food, but do not invent an expiration date. Also record the cooked, opened or frozen date so another person understands where the estimate started.
How do I label food for the freezer?
Label the package while it is dry with the food name, frozen or packaging date, amount and relevant preparation note. Use freezer-suitable materials and place the writing where it remains visible after bags or boxes are stacked.
Can I use a dry-erase marker on meal prep containers?
Only if it stays readable in your storage conditions and the container manufacturer permits it. Test the exact surface first; condensation, rubbing and textured plastic can erase or trap marks. A removable external label is often easier to verify.
Label the next batch before it disappears
Put labels and a marker beside the containers now. For the next batch, write the food name, action date, portion and next step before anything enters the refrigerator or freezer. Then move the oldest suitable meal forward. To keep recipes, weekly timing and groceries together, download Dishday on the App Store.